Installation and License
Installing Pretty Email plugin on your WordPress site is straightforward with this complete setup guide. Follow these steps to download, upload, and activate your email template builder plugin.
Installation
Pretty Email is available in the licensed version only, so you need to buy access and download a .zipfile to install it on your WordPress site.
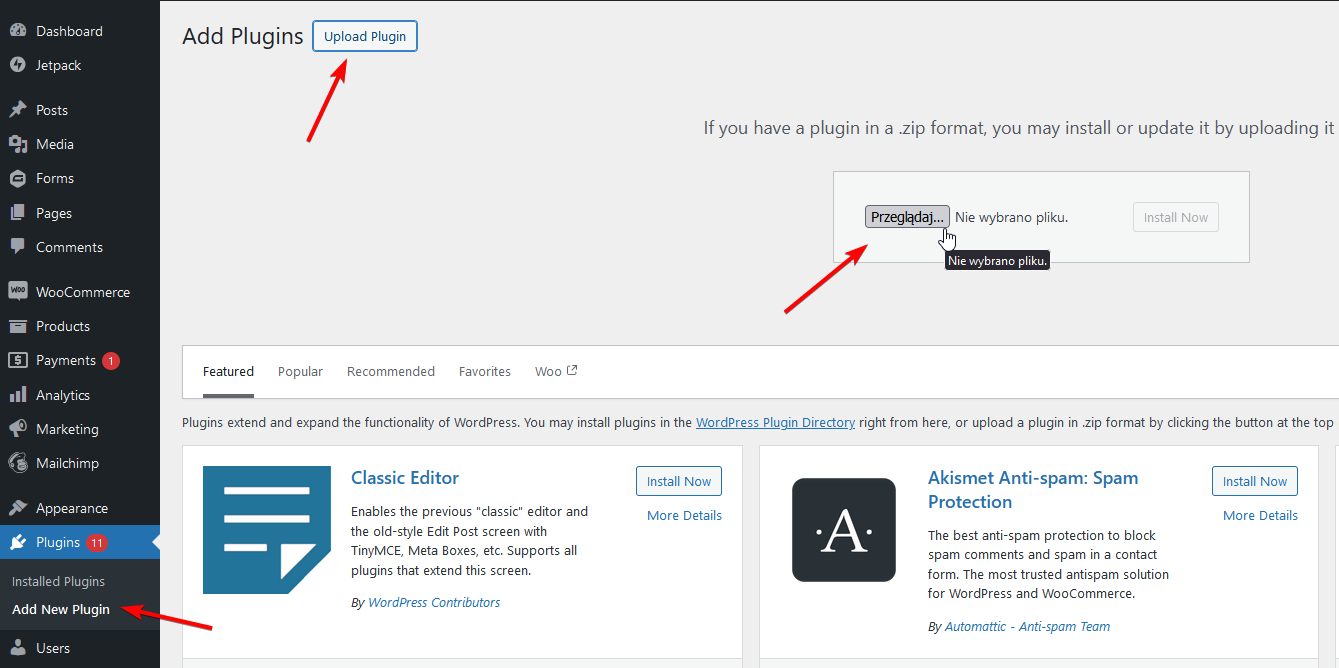
If you already have your .zip file, upload it in the Plugins -> Add New Plugin -> Upload Plugin, and then activate the plugin. Otherwise, see How to Download Plugin.
How to Download Plugin
-
Go to
View Details and Downloadsof your Pretty Email plugin payment
-
You'll find a plugin download link in the
Productstable.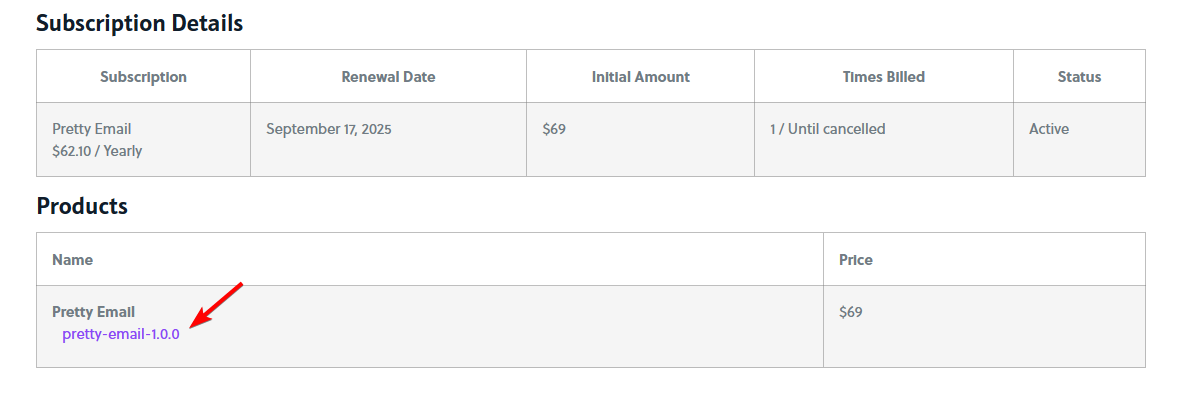
-
Upload the
.zipfile as described above in Installation.
License
Once you have installed and activated the plugin, go to the plugin's settings to provide a license key. Without it, the templates will not be rendered, so you will not be able to use them.
- Go to
Appearance->Pretty Email

-
Navigate to
Settingstab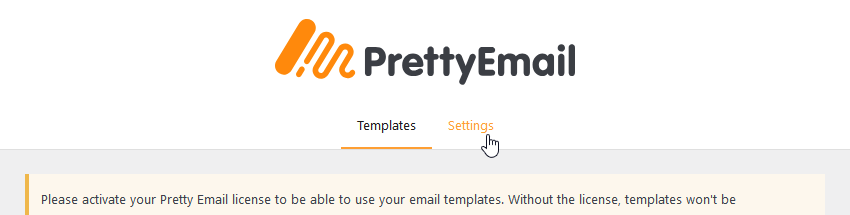
Or use the link in the notice.

-
Provide your license key in the
Licensebox.
Where to find a license key
You can find your license key on your BracketSpace account page (View Licenses -> Manage Sites).